Pond Coasters
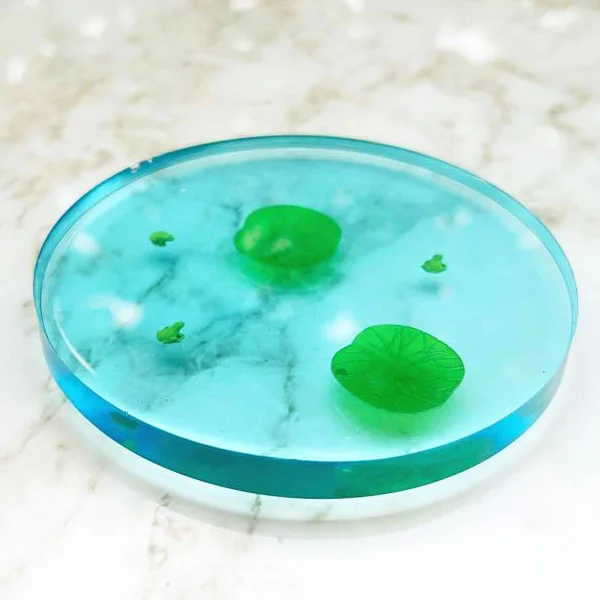
The older I become, the more insistent I become on using a coaster. I just wanted to make these little ponds. That said, they make lovely gifts. This is a nice, easy way to get started with embedding objects in resin.
What you’ll need
Roughly £10 if you already have some 2-part resin and hardener, plus the colourant.
- 2-part epoxy resin (resin and hardener)
- Blue liquid resin dye
- Mixing cups and stirring sticks
- Round coaster silicone mould (I bought mine from SKsuppliesBG on Etsy)
- Tiny frog (you can get tiny packs of 5 from MoldedCandy on Etsy)
- Resin lilypad (available from nicoledebruin on Etsy)
- Safety gear
Steps
Step 1
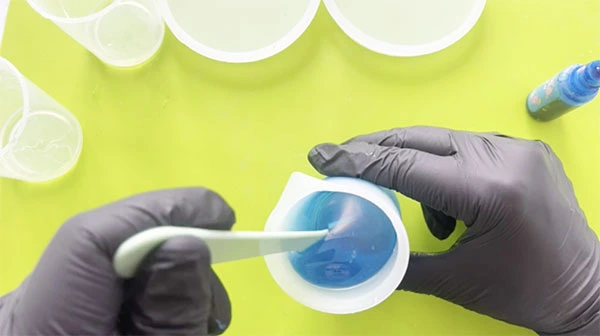
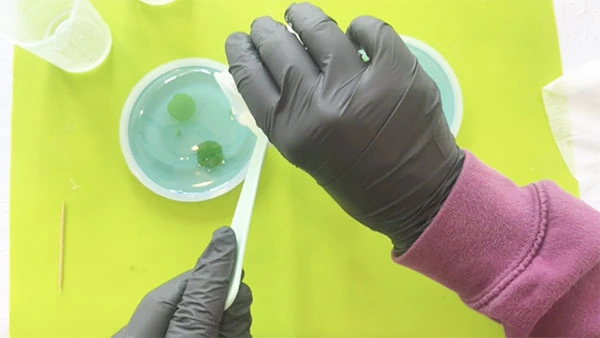
Mix your 2-part resin and add blue dye
We don’t need the blue to be too strong here, so a couple of drops will do the trick. Make sure to mix until no streaks remain.
Step 2
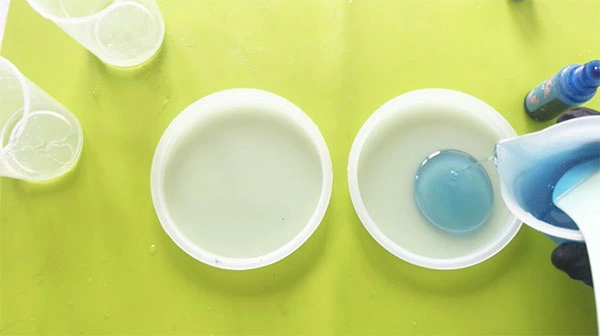
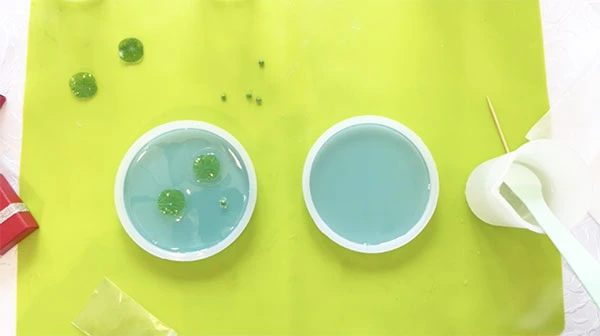
Pour a thin layer of blue resin into your coaster mould
We’ll be adding more layers after, so we don’t want this to be too thick. Leave to cure for 3-5 hours.
Step 3
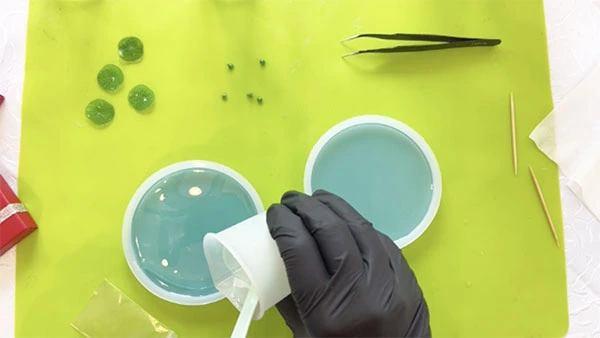
Mix some clear resin and pour a very thin layer into the mould
That’s right, right on top of the semi-cured blue resin, depending on your room temperature. The resin should be slightly ‘tacky’ – this gives the new layer something to cling to, and you’ll see fewer bubbles in your work when the other layer is added.
Step 4
Add your frog and lilypad
Stick them where you like. Leave for another 3-5 hours.
Step 5
Mix some more clear resin and fill to the top of the mould
Now we’re just evening out the coaster so it can actually be used as a coaster. Mix some more 2-part resin and fill to the top of the mould.
All done!
Leave a Reply