Beach Scene Charms
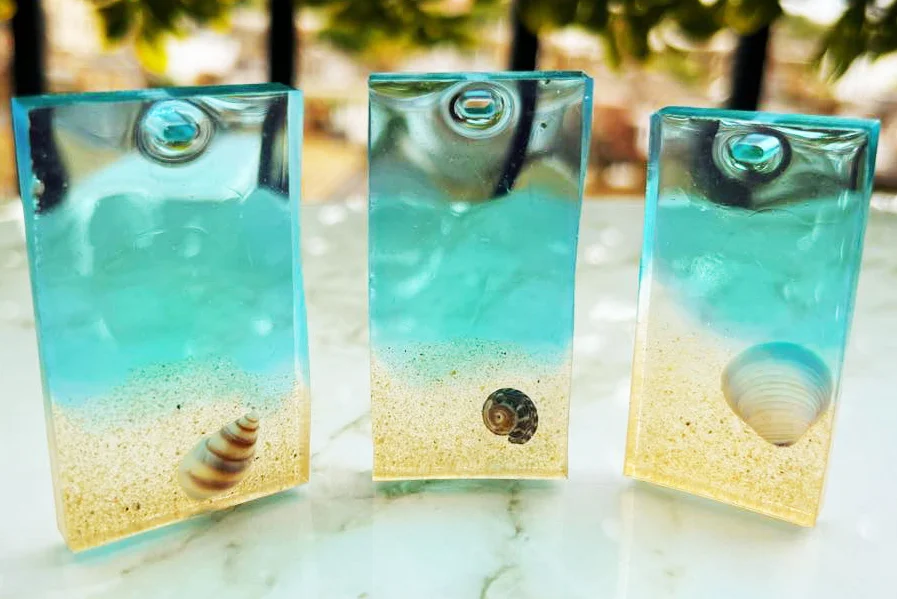
The reason most people want to start resincraft. We’ve all seen those lovely azure beach scenes on Instagram. This is my beginner-friendly take on it. Once you’ve mastered these, you can experiment with creating white waves and ripple effects. If you’re not lucky enough to live by a beach (if only), then you can buy sand on Etsy.
What You’ll Need
Around £10 for the sand and shells, and if you already have some 2-part resin and hardener with some moulds
- 2-part epoxy resin (resin and hardener)
- Silicone moulds of your choice
- Blue and green liquid resin dye
- Mixing cups and stirring sticks
- Sand (I used light beige sand from MindcreationsStudio on Etsy)
- Small shells
- Safety gear
Steps
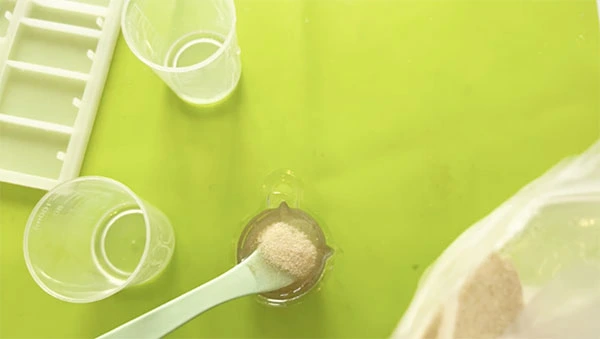
Step 1
Add sand to your mixed resin and mix
It’s a good idea to add a little at a time. If you add too much, it might overpower the resin. The sand should be evenly spread throughout the resin.
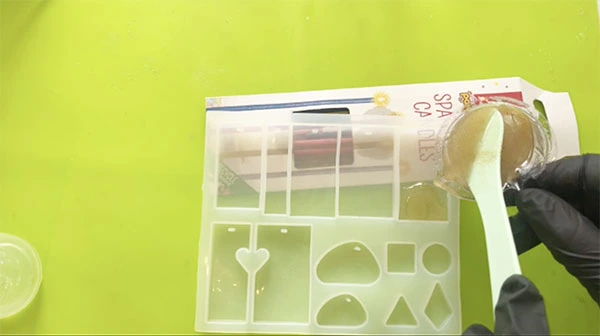
Step 2
Pour a thin layer of the sandy resin into the lower part of your mould
You don’t want the sand to take up too much of the mould, as you want space for the sea later. It is helpful to keep a thick piece of card under the upper part of the mould to tilt it down slightly, as this keeps the sandy resin where it needs to be. Don’t make the layer too thick, as we will be adding a clear layer at the end.
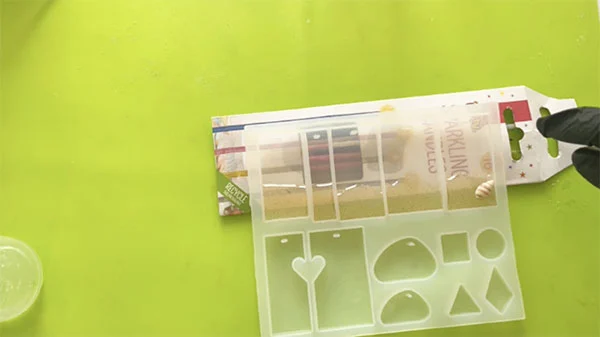
Step 3
Add your shell
Carefully place a small shell in the sandy part of your mould. Leave for around 24 hours to cure.
Step 4
Mix up some new resin and add blue dye
You only need a few drops of the colourant at most. Too much can upset the resin and prevent it from curing properly.
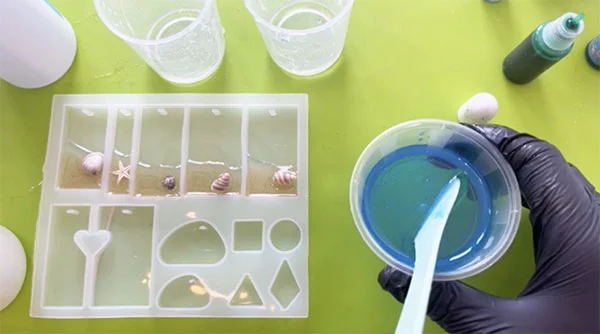
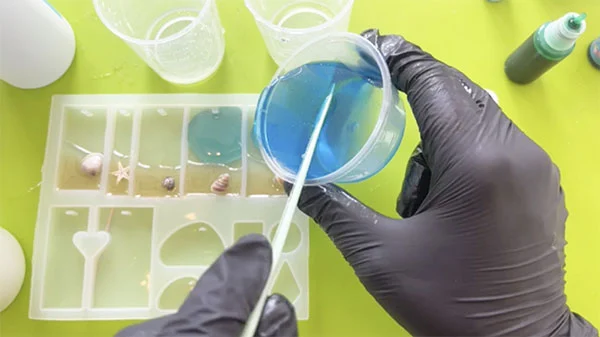
Step 5
Pour the blue resin into the upper part of the mould
Again, this only needs to be a thin layer. Pour slowly and carefully until it meets the edge of the sand. If you need to tilt your mould slightly to prevent it overlapping the sand too much, place a thick piece of card under the lower part of the mould.
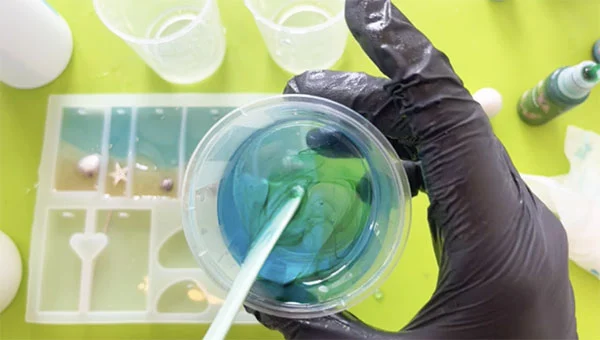
Step 6
Mix some green dye into your blue resin
This is to create that nice reefy effect, where the water is more shallow. Only a drop or two of green dye will do.
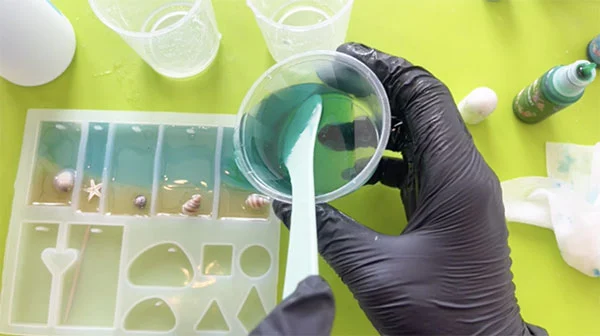
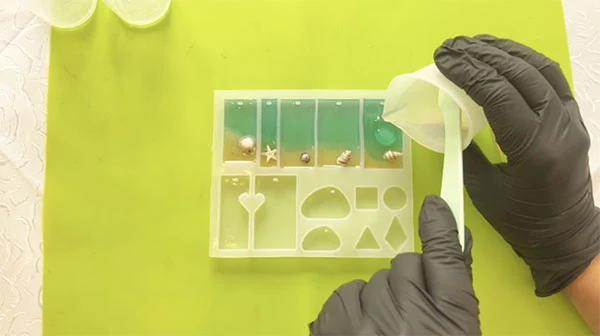
Step 7
Add a little green/blue resin to the mould
Aim for immediately after the sand and pour a small amount in. At this point you can use a heat gun or even a hairdryer to blow the green/blue resin towards the deeper blue ‘water’ (I didn’t this time). You can also just tilt the mould slightly to help the colours blend. Leave to cure for around 24 hours.
Step 8
Add a layer of clear resin to your mould to even it out
Pour a little clear resin into your mould until it reaches the top to even out the height. If your shell is a little big and protrudes slightly, it isn’t the end of the world. Leave to cure for around 24 hours.
All done! Enjoy your beaches!

Leave a Reply