Stickers in Resin
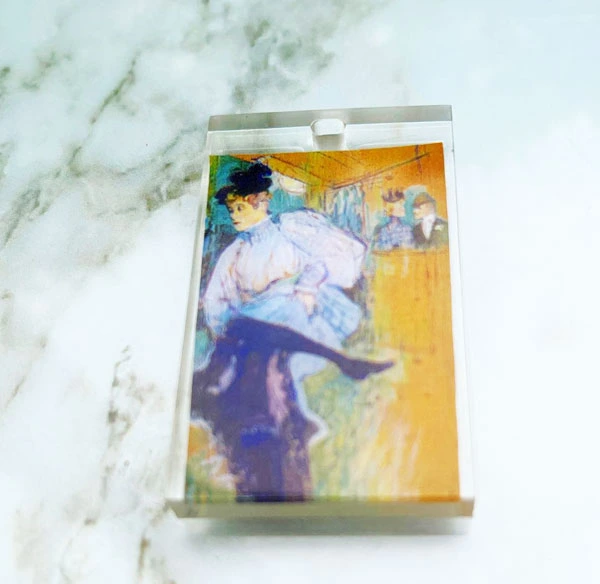
You can put stickers in resin to make some rather nice keyrings. Do check in advance whether your stickers are waterproof by immersing a corner of your sticker sheet in water. If it starts to look a bit soggy, then you’ll need to seal it by painting it over with glue or covering it in tape. The lovely Katherine Swift at Resin Obsession has more information about this on her site.
What You’ll Need
Very cheap, if you buy your stickers from a Pound Shop and have a keyring-sized mould along with some 2-part resin and hardener.
- 2-part epoxy resin (resin and hardener)
- Keyring-sized mould (mine came with a starter set from Amazon)
- A sticker of your choice
- Mixing cups and stirring sticks
- Safety gear
Steps
Step 1
Check to see if your sticker is waterproof
We don’t want it to get discoloured in the resin. Test it by dipping a corner of the sheet it came on in water. If it becomes discoloured, you’ll need to seal it. If it remains the same and can just be wiped dry, then we’re good to go.
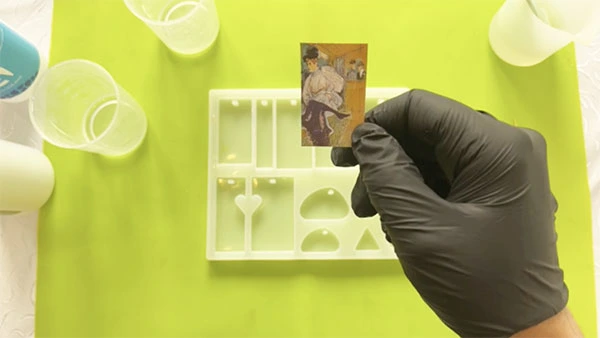
Step 2
Check that your sticker fits into the mould
It might sound obvious, but it needs to have a little room to spare. I gave my sticker a trim with scissors to make sure it would fit.
Step 3
Mix some clear resin and hardener
How much resin you want depends on how many sticker keyrings you plan to make.
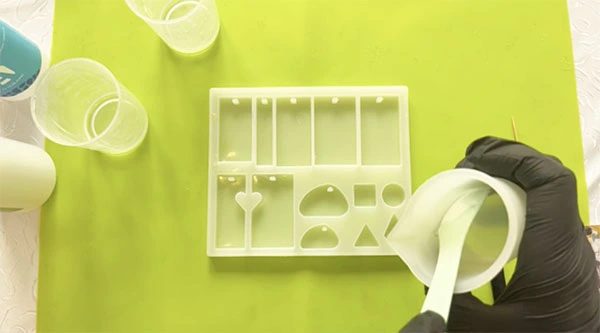
Step 4
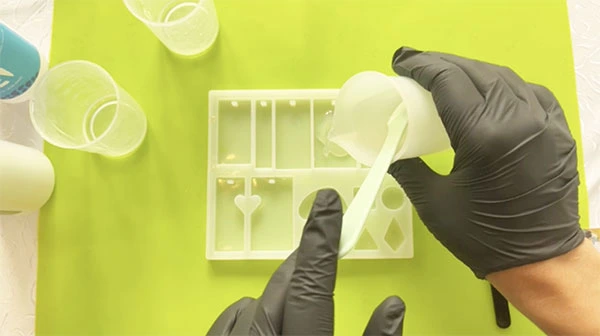
Pour a thin layer of resin into the bottom of your mould
Make sure this is a very thin layer. This will be the front of our keyring.
Step 5
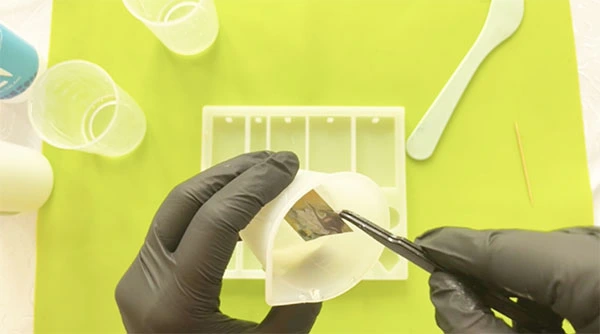
Immerse your sticker in the mixed clear resin
This is to prevent bubbles from forming later. A nerve-racking moment, to be sure. Don’t worry – if you’ve done the water test, then the sticker should be fine. As you can see, I didn’t bother removing the backing from the sticker and used some tweezers to grip the sticker.
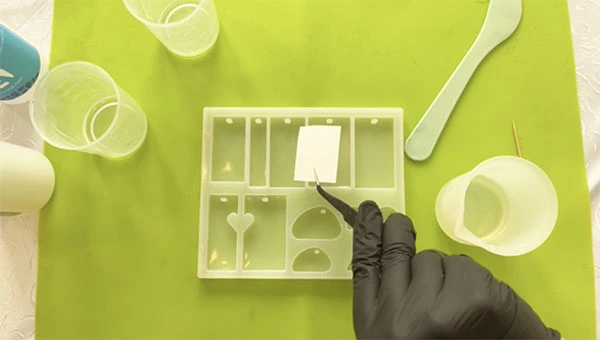
Step 6
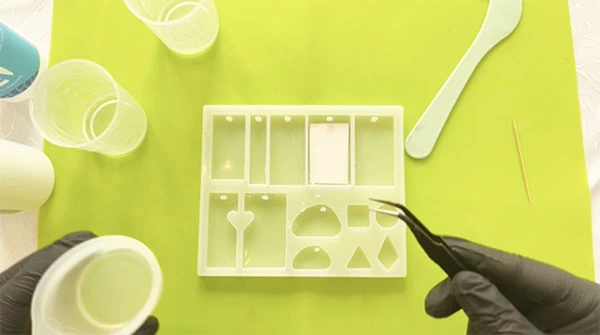
Place your sticker face-down in the mould
The bottom of the mould tends to be nice and smooth, and that’s why it’s the front of our keyring. Adjust the sticker’s position with a toothpick if you like. At this point you can leave it to cure for a few hours.
Step 7
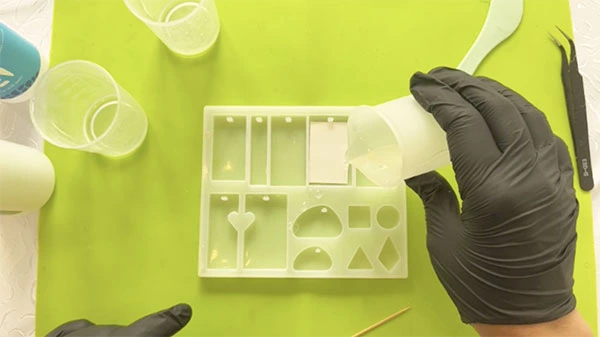
Fill the mould with more resin
As this will be the back of the keyring, you can add glitter or even colourants to the resin before pouring it in. I decided to make my keyring completely clear. Leave to cure for 24 hours.
And you’re done!
Leave a Reply