Cloud Block
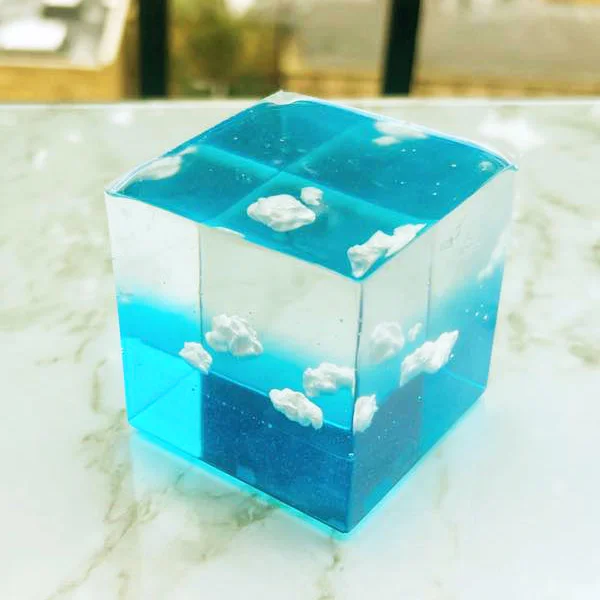
Let’s make the sky. Why not? This is a lot easier to make than you’d think. The clouds are made of air-drying clay created especially for resin, and they’re a lot of fun to sculpt and shape.
What You’ll Need
Around £10-15 for the sculpting clay and cube moulds, if you already have some 2-part resin and hardener with some blue colourant.
- 2-part epoxy resin (resin and hardener)
- Cuboid silicone mould
- Air-drying clay for resin (HotPinkWishes sells it for very reasonable prices on Etsy)
- Blue liquid resin dye
- Mixing cups and stirring sticks
- Safety gear
Steps
Step 1
Mix some 2-part resin and hardener and add blue colourant
You won’t need too much blue resin. If you aim for enough to fill a third of your cube mould, that should be more than enough.
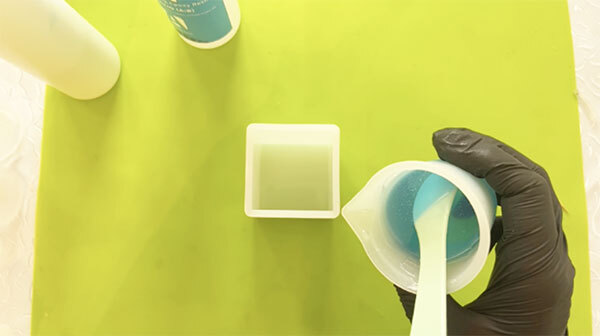
Step 2
Pour blue resin into your cube mould.
Again, don’t fill it too much, as we’ll be adding more layers later. Leave to cure completely (around 24 hours).
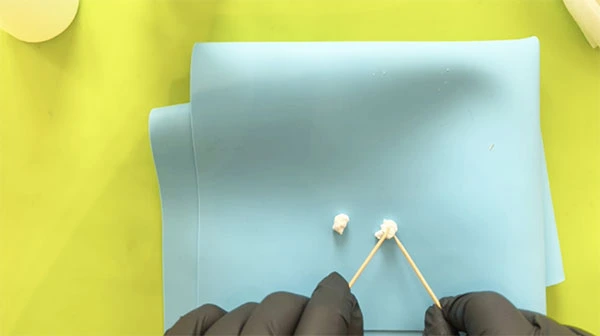
Step 3
Make your clouds
Take some blobs of your cloud clay and use a couple of toothpicks to shape them. Some prodding and strategic squeezing produces some lovely effects. Aim for irregular shapes and sizes. Put these to one side somewhere safe, and try not to handle them too much.
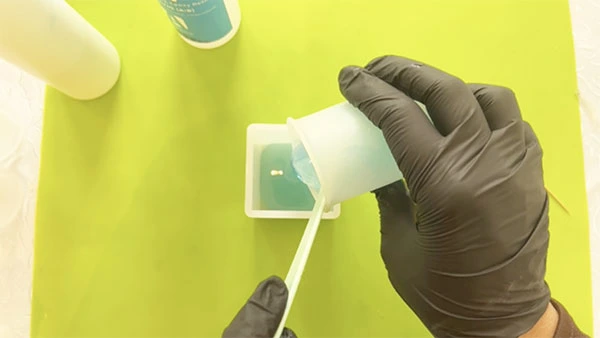
Step 4
Mix some clear resin and hardener and add a thin layer to your mould
This is to give our clouds something to hold on to. There’s no need to add too much – a level coating will do it.
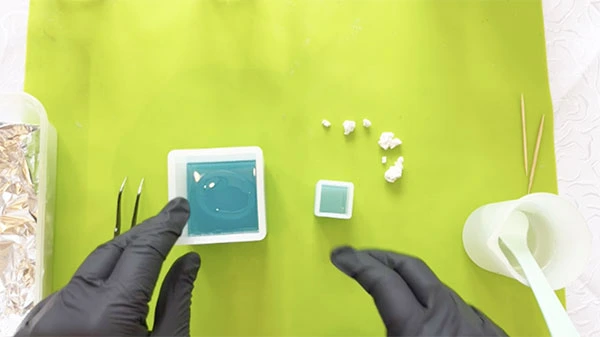
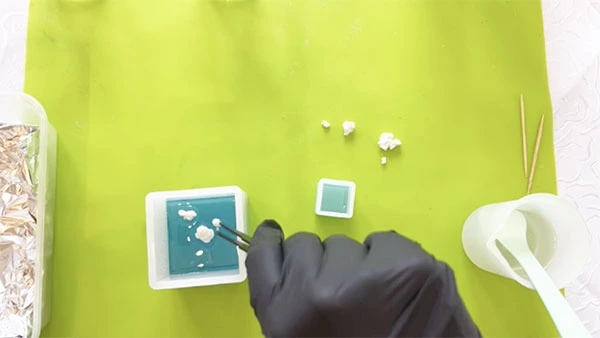
Step 5
Add your clouds to the mould
It’s up to you how many clouds you add, but I believe less is more. Make sure their bottoms are immersed in the clear layer, but don’t press them down too hard, as clouds don’t tend to have flat bottoms. Leave for about 3-5 hours.
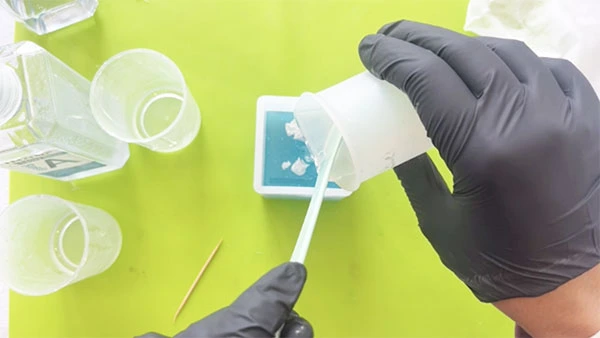
Step 6
Fill the mould with more clear resin
Fill your mould to the top with more clear resin. Once your mould is full, leave it to cure for at least 24 hours.
Finished!
Leave a Reply